A common task in geocaching (especially in mystery caches) is Waypoint Projection or Coordinate Projection. For a given starting point, a given distance and an angle with respect to north (bearing), the target point is to be determined. This operation can easily be done with Flopp’s Map.
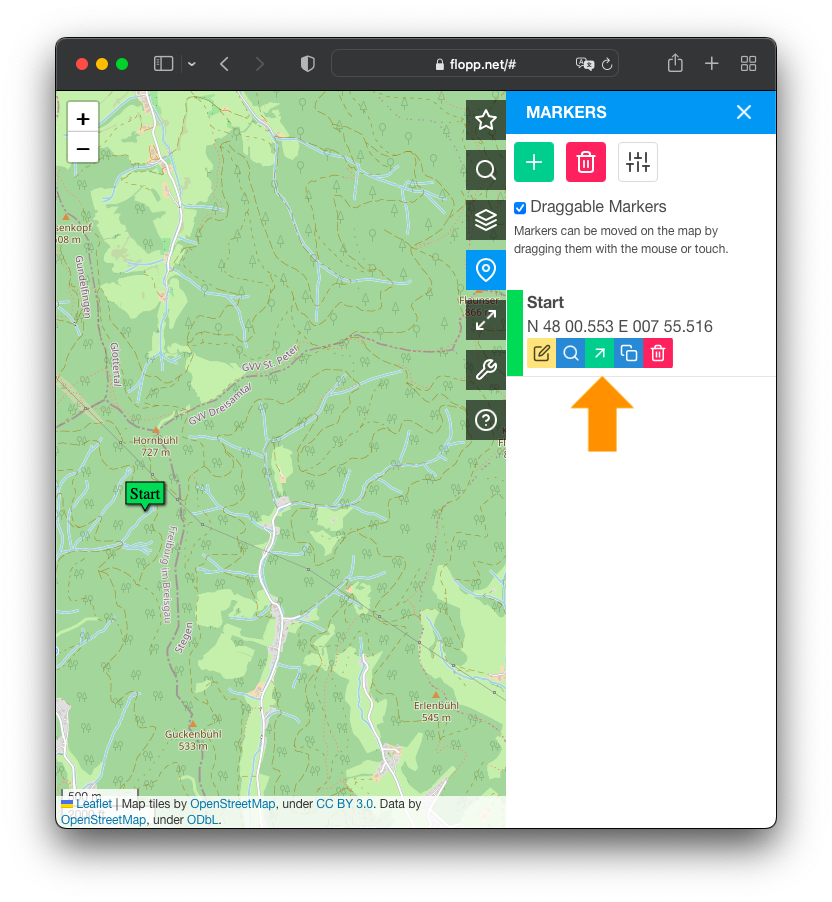
We start from a map that already has a marker at the starting coordinates. To perform a waypoint projection, you can either right click the marker on the map and select “Waypoint Projection” from the popup menu, or click on the green arrow button in the “Markers” list.
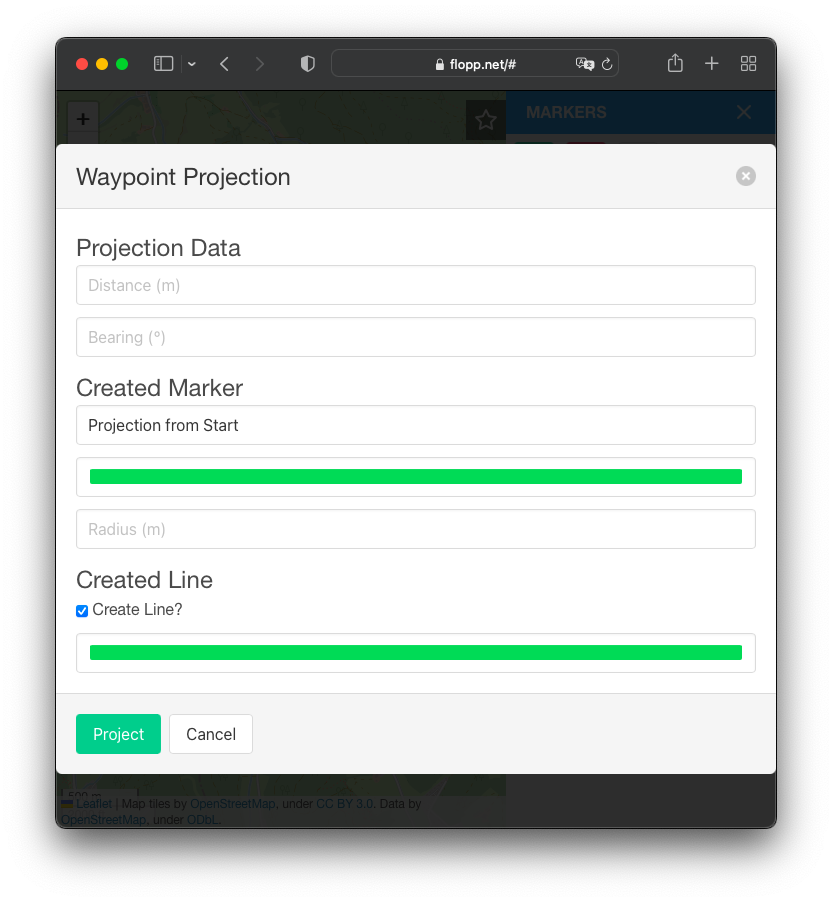
Now the “Waypoint Projection” dialog will pop up, where you can enter the details of the waypoint projection, mainly the desired distance and the angle/bearing. You can also configure the target marker that will be created (set it’s name, it’s color and whether a circle should be added), and you can choose to directly create a line between the start marker and the target marker.
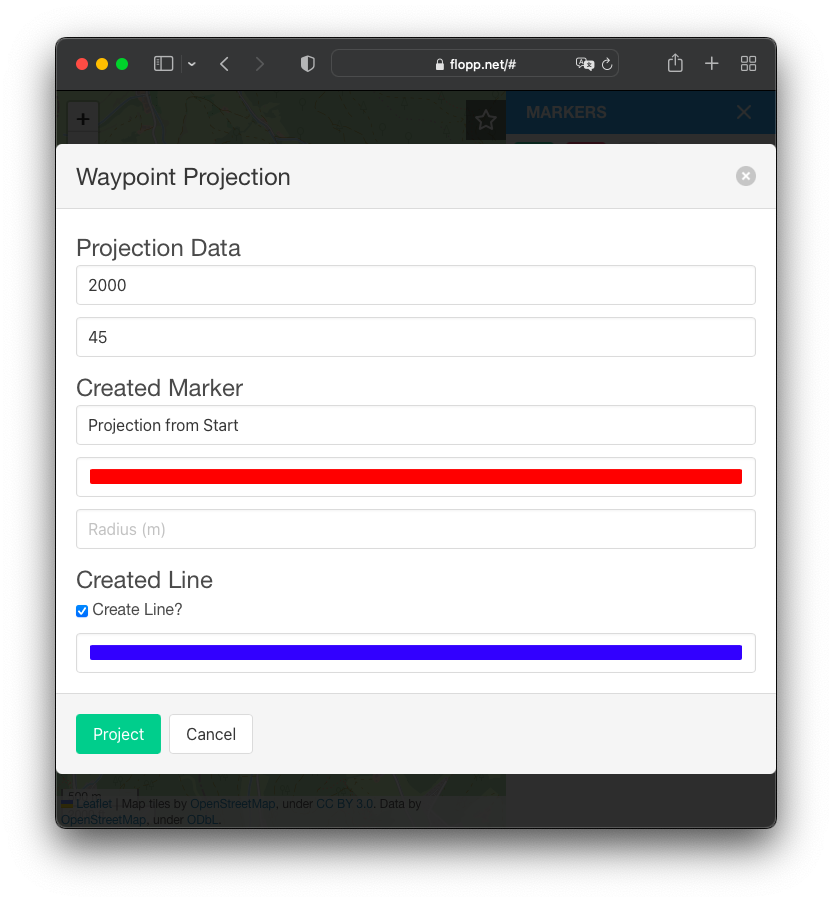
In this example, we’ve entered a projection distance of 2000m, an angle/bearing of 45°, we want the newly created target marker to be named “Projection from Start”, and we want a blue line to be created between the two markers. Once everything is filled out, you can click on the “Project” button.
And indeed, everything is created as configured!
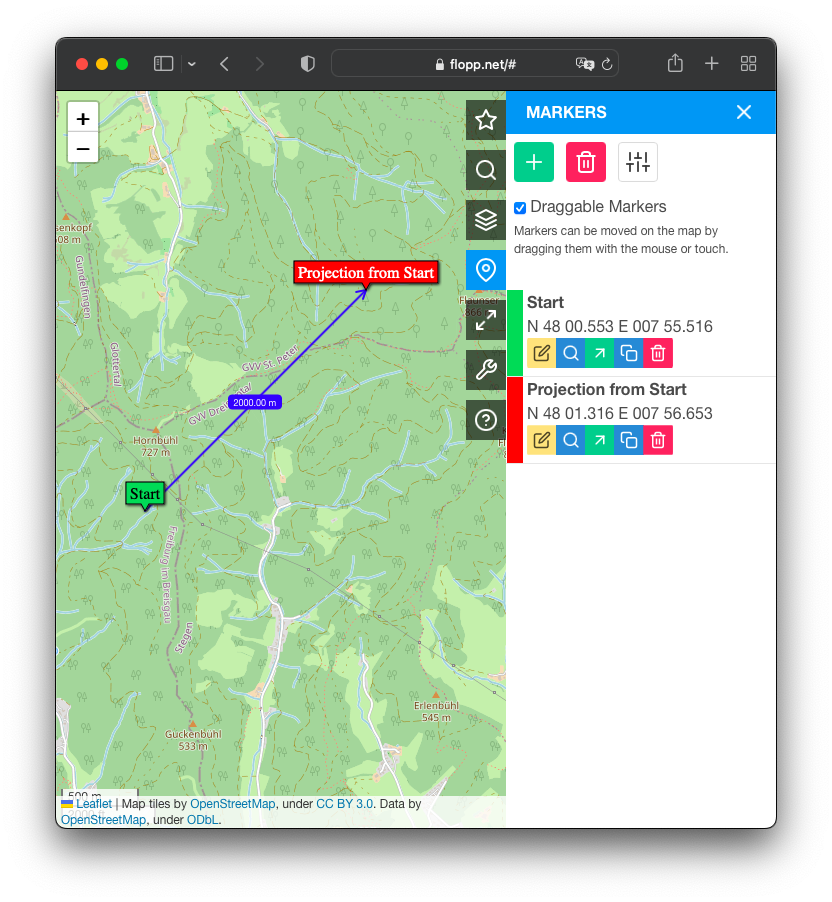
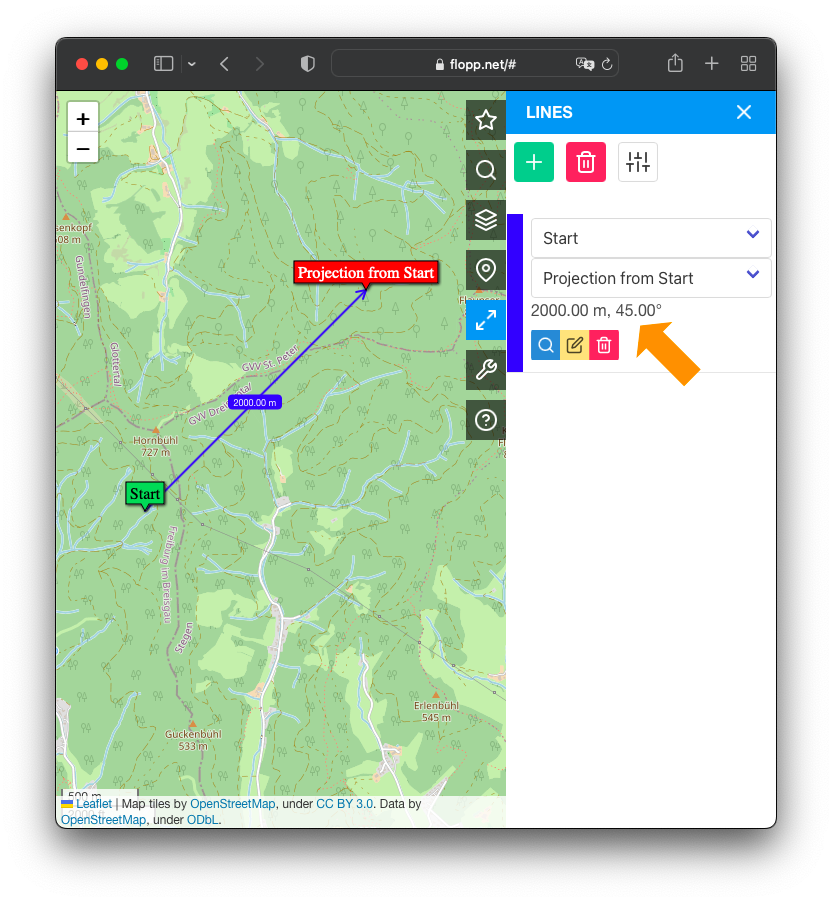
When switching to the “Lines” sidebar, we can see that the created line is exactly 2000m long and has an angle of 45° – exactly the values that we have entered into the Waypoint Projection dialog.
Here’s a link to the map from the example (created by using the Link dialog): https://flopp.net/?c=48.012205:7.936935&z=14&t=OPENSTREETMAP&m=0:48.009219:7.925262::Start:23d160*3:48.021936:7.944221:-1:Projection%20from%20Start:ff2600&d=0:3:0433ff
Comments
One response to “Waypoint Projection”
[…] green “arrow” button: perform a waypoint projection starting at the […]